Showing posts with label reclaimed wood. Show all posts

Thursday, September 10, 2015

Trash to Treasure Tutorial: Don't Throw Away That Flimsy Ikea Bookcase!


Okay, things are about to get NUTS around here because...


          I am really proud of this project because it was my first project since becoming too sick to work (long story, we'll just say two years of endocrine issues... NOT fun!), & then a year of my daughter still being too small to really get into any major projects. Now I'm healthy (PRAISE THE LORD!!!), albeit a bit sleep-deprived (not because of kids, just for no reason at all! Haha); but the baby is old enough now that I can do a few things here & there, with &/or without her around.
It only really took about two weeks to do this project, which was such a wonderful surprise! I was about to buy, or build, some shelves to replace the flimsy Target shelves in our family room. 

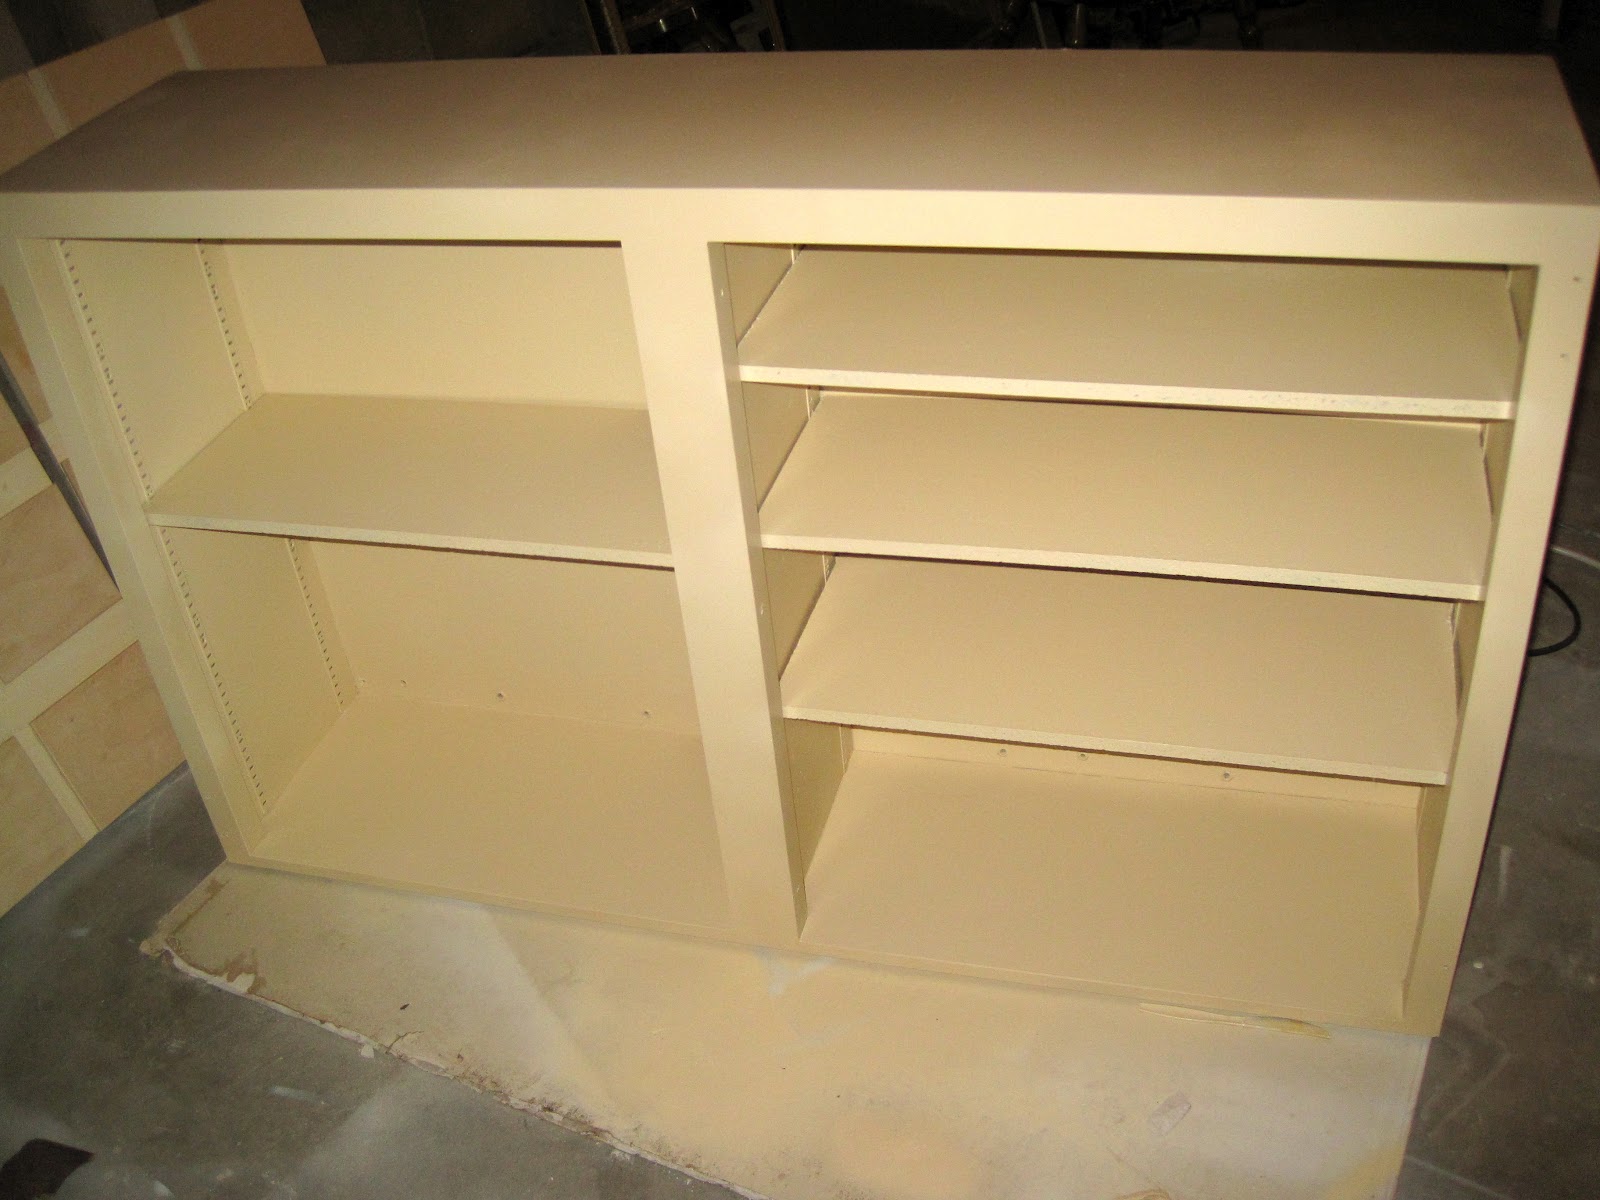
All we had was this shell:


I could simply touch the top & rock my hand from side-to-side & the whole thing would sway back & forth! Initially, I wanted to toss the laminate frame & just build one entirely from scratch using solid wood.

But then I thought, 'ehhh... I'm going to build the frame out with solid wood so much that it's not going to matter if I buy four pieces of actual wood to make this same frame or if I build it out. 
The way I planned to build it out, it seemed wasteful to throw out such a minimal part of the project. 
So alas, here it was!


Yeeeeaaahhh, so you know how I like to show the good, the bad & the ugly???? Well, I thought I'd take a few pieces of wood that I had on hand & attempt to sand them down & somehow this was going to make sense; but no... no sense was made here!


I went to home depot & bought two pieces of MDF board, 1/4 inch thick. to give me some more solid backing. The original backing was cardboard -- which isn't super awesome, as you can imagine...


Then I used nails to attach the new, more SOLID backing. Also, I used my miter saw to start cutting the trim for the bottom. I thought in my head that I needed trim on the bottom AND the top! 
That's a lot of 45-degree angles & fingers crossed that I actually got it right! haha. 
Turned out, I didn't do too bad of a job!


Just another picture of where I was after attaching the new back & bottom trim.


I used wood glue to put the trim into place & then held each board in place for a few minutes. Then when I knew everything lined up correctly I used finishing nails to secure them in place.

(Also, it looks like I already attached the new furniture feet & didn't take pictures! But I decided to move them again later & there are shots of that in a little bit, so we can all deal...) 


Bottom trim complete!


Shot of mitered edges.


Another shot of mitered edges.


Next, I trimmed out the top in the same fashion, with the same sort of vertical overhang so that when the top was in place, it would be on hinges to hide a nook as a small hideaway. I also went to Home Depot & found a solid slab of wood [insert measurements here] for the top. To cut the piece to size, first I placed the board on top of the completed trim & traced the rectangle from underneath. 


I knew I wanted an overhang on the front & sides (the back would sit flush with the back of the shelves), so I measured out an inch & a quarter in three directions & then drew out the new rectangle.

I used a jigsaw to make the cuts. I put it in place & it looked great! 
Obviously, some sanding was needed in order to make the cuts even & smooth, so I was glad that I left myself some room to do that.


Here's just a couple closer shots of the overhang measurements.


Here's the little nook that the trim ended up creating. This was a TOTAL accident, by the way; but it turned out to be a happy accident & it gave the shelves more height.
Moms can always use an extra little space to hide stuff when people make surprise visits, right???

Here is the top during the sanding process. Looking much more smooth & even!


Next I went BACK to Home Depot & picked up the smaller trim. It was in a small area of the wood aisle called "craft boards." I measured the lengths & cut them to fit with the miter saw. 
I was careful to always air on the longer-side of the measurements & then slowly shave them down 
so that they were a tight fit.
I attached the vertical pieces first, using glue to hold it in place & finishing nails to secure it.


Then I measured, cut & attached the horizontal pieces on the sides.

(I also measured & mitered some cove trim to make a better-looking transition 
from the trim to the top.)


I did the same thing as above to cut vertical covers for the front of the shelves 
& then did the horizontal shelves last.
I put on the horizontal pieces so that they were basically right in the middle so that the upper- & lower-overhangs were even. It worked out so that the shelves will have a little lip there to keep picture frames, books or other displays from falling off the shelves.


I also found a long round piece of wood in the wood aisle. I used that to make some dividers for the lower shelves. I know the two Ikea pieces that ere the template for the sides have height-adjustment holes for the shelves, but these shelves will not be moving once they are together 
& those holes will be filled in & hidden.

I measured & cut the pole, again airing on the long end of the measurements 
so that they were a snug fit when I put them in place. 


Once I had the perfect fit (which really happened on the first try! It's a miracle!!!), I put the shelves on their back so that I could drill pilot holes through the bottom of the shelves 
to secure the round dividers.


And then I screwed some screws in to the divided to hold them in place. 
Once again, I was really lucky on the first try with all three of these!


I covered every screw & shelf-adjusting holes with stainable wood-filler.


Then I sanded the wood filler until I had a smooth finish.


Obviously, the entire set of shelves needed sanded. I think I did  80-, 120-, 150- & 220-grit, one after another just to get it super smooth & soft. 

Before priming, I decided the feet needed to be set a little more inward instead of against the edges. 
It just looked better. Now you can see how I attach the legs. With a piece of furniture 
this heavy & substantial, I always use the big metal plates to attach legs 
so that they are sturdier & can better support the weight of the wood. 
They distribute the weight better than just using a little receiving-end piece.


Ok, so here are my finishing materials thus far & still to come.
  • Elmer's Stainable Wood Filler
  • Glidden GRIPPER White Primer & Sealant (THIS PRIMER IS A-MAZE-BALLS! It sticks to ANYTHING: laminate, anything outdoor, kitchen cabinets or anything that has come in contact with grease, etc etc etc etc...)
  • MinWax Fast-Drying Polyurethane in Clear Gloss
  • Behr White Semi-gloss Latex Paint (Not sure of the exact shade... just had it on hand)
  • A little dense foam roller (I always like these for big pieces of furniture)


I primed the front & sides but my little helper got to prime the back however he pleased!!! haha.


One coat of primer, two coats of paint. 24 hours of drying time in between coats. Allow that to really CURE & harden for about 72 hours before applying polyurethane. I wanted to just move it in now; but because this is going in my family room, where children & their toys abound, 
skipping the poly really isn't an option.


I did two or three coats of gloss poly. 
I'll add the rest of the pictures if I ever find them!!! I still need to bring them inside 
& set them up & will post pictures of that afterwards, too. 

Finally, this is a very rough post. I'll be brushing it up over the next week or so. 
Regardless, ENJOY!


Monday, January 23, 2012

From Trash to Treasure Tutorial: Cast-off Wall Cabinet Becomes Faux Apothecary Conversation Piece


 BEFORE                          &                            AFTER: 


.................................................................................................

This cabinet was such a silly thing to find. I almost didn't even accept it 
from a neighbor, who was going to throw it out, when they offered it to me. 
It ended up becoming my biggest (& longest!) project yet; 
& the project of which I'm the most proud! 
Remember when I said, "bear with me as I venture out & try new things," 
because with every project I complete I learn a little more? 
Well, get ready to BEAR
I learned a lot more than I had bargained for with this project; 
but it was totally worth it all in the end. 
Now I feel like I can take on anything, & that's a good feeling to have.
Here we go!

10/4/2011

I got this cabinet for free & at first was going to use it as a storage cabinet 
in the garage for my refinishing tools, hardware, & painting supplies.


Then we received an Ethan Allen mailer with this server in it.:

Ethan Allen Townhouse Howell Server
Instantly, I was reminded of the cabinet in the garage; so I went about refinishing it to see if I could replicate the beautiful Ethan Allen version.


12/1/2011

I removed the hardware, doors, & shelves & went about priming it 
with some Rust-oleum spray paint.


Next I picked the paint, which I already had from an accent wall in a bedroom. 
It took about 3 layers of paint to get it how I wanted. 

I used a Martha Stewart roller I got at Home Depot. 
These rollers make a really smooth paint finish that goes on fast & easy. 
The clean-up is the best part because they are SO much easier 
(& faster!) to clean than traditional ones!


I realized while I was painting, in order to protect my floors 
(& so it looked like it's own piece & not like a cabinet fell off the wall & lying on the floor), 
that it would need some furniture legs. 

I went back to the Ethan Allen picture for reference & the next time I was at Home Depot I grabbed some legs & mounting plates. 

I've never attached legs to furniture before, but there's a first time for everything, right?


It got really cold before I could do any more. 
It's too big to bring inside & too cold in the garage to paint. See you in the Spring!


Sometime in January 2012


CHANGE OF PLANS!
Only, now here's the problem, people... I found this:

 A homemade version of 
Pottery Barn's Andover Cabinet in white at


Thank GOD that Winter came & I had to take some time off or 
I would have wasted so much time making the Ethan Allen cabinet!

Here is the real one at Pottery Barn's website:


And here are the pictures at Ana's site of how to do it:

Ummmm.... is it just me or do I already have the cabinet to do this?! 
I have always wanted an apothecary cabinet, & here's the other thing... 
I actually think it will be easier than my original plans! I will still attach the feet 
because I think they will make it look like a more stand-alone piece. 

I have my work cut out for me no matter what; but I like this cabinet a lot more! 

All of a sudden, this project got a whole lot easier & WAY better looking! Well, I'll keep you posted. I've been knocking out projects left & right lately. I need to get to posting them ASAP! I'll start making the plans now & get to work as soon as the weather allows.

3/30/12

I went to Jo-Ann's & got a few of these thin plywood craft boards.
They were 1/4" thick, 6" wide, & 36" long.


Of course, I knew the dimensions of the cabinet before I bought the wood. After lots & lots & lots & LOTS of math, I knew that the drawers would have to be 
6" long & 7"wide, which is why I went with the 6" wide boards. 

Less cutting on my part would ensure more uniformity. 

 I started measuring in 7" at a time 
(& double-checking & measuring again) & cutting. 

Remember the old saying, 

"MEASURE TWICE -- CUT ONCE."


My husband's circular saw I used to tackle the job:


Cutting!


After I was done cutting it was time to start gluing the "drawers" on to the cabinet. 
My tools for the job:


I started measuring & gluing.


After they were done & needed to dry, 
I laid them side-by-side to make sure that they were even.
They were!


I set them aside until the next day.


3/31/12


They don't have to look completely sealed shut because they are
after all, supposed to be drawers; 

BUT I filled in any large cracks that may have popped up with wood-filler.
That needed to dry before sanding it down.


My time was up & so they had to sit & wait for what would come tomorrow in the morning.

(Oh, did I forget to mention that I already repainted the cabinet with 
Rust-Oleum's Ivory Silk Satin Finish spray-paint? Well, I did... 
I also spray-painted the feet with Rust-Oleum's Oil-Rubbed Bronze.)


4/1/12
It's MORNING! 

(Happy Birthday, Teddy Bear! I miss you!)
4/1/02-1/26/11


It's time to sand...


prime...


& paint!


4/2/12

After it was dry, I drilled the pilot holes 
(I'll insert the size I used here) & attached the knobs.

*******************

Here's a little tip about the knobs:
They're the cheapest wooden knobs that 
Home Depot sells, at $0.94 per knob! 
With a little Oil-Rubbed Bronze spray-paint, they look like the expensive 
$3 & up per knob that they charge for that finish! TA-DA!)

*******************


4/5/12

I started the next door.


While I was doing that, I looked at the cabinet...


I had to put some wood filler in the scratches that I just couldn't get to go AWAY!
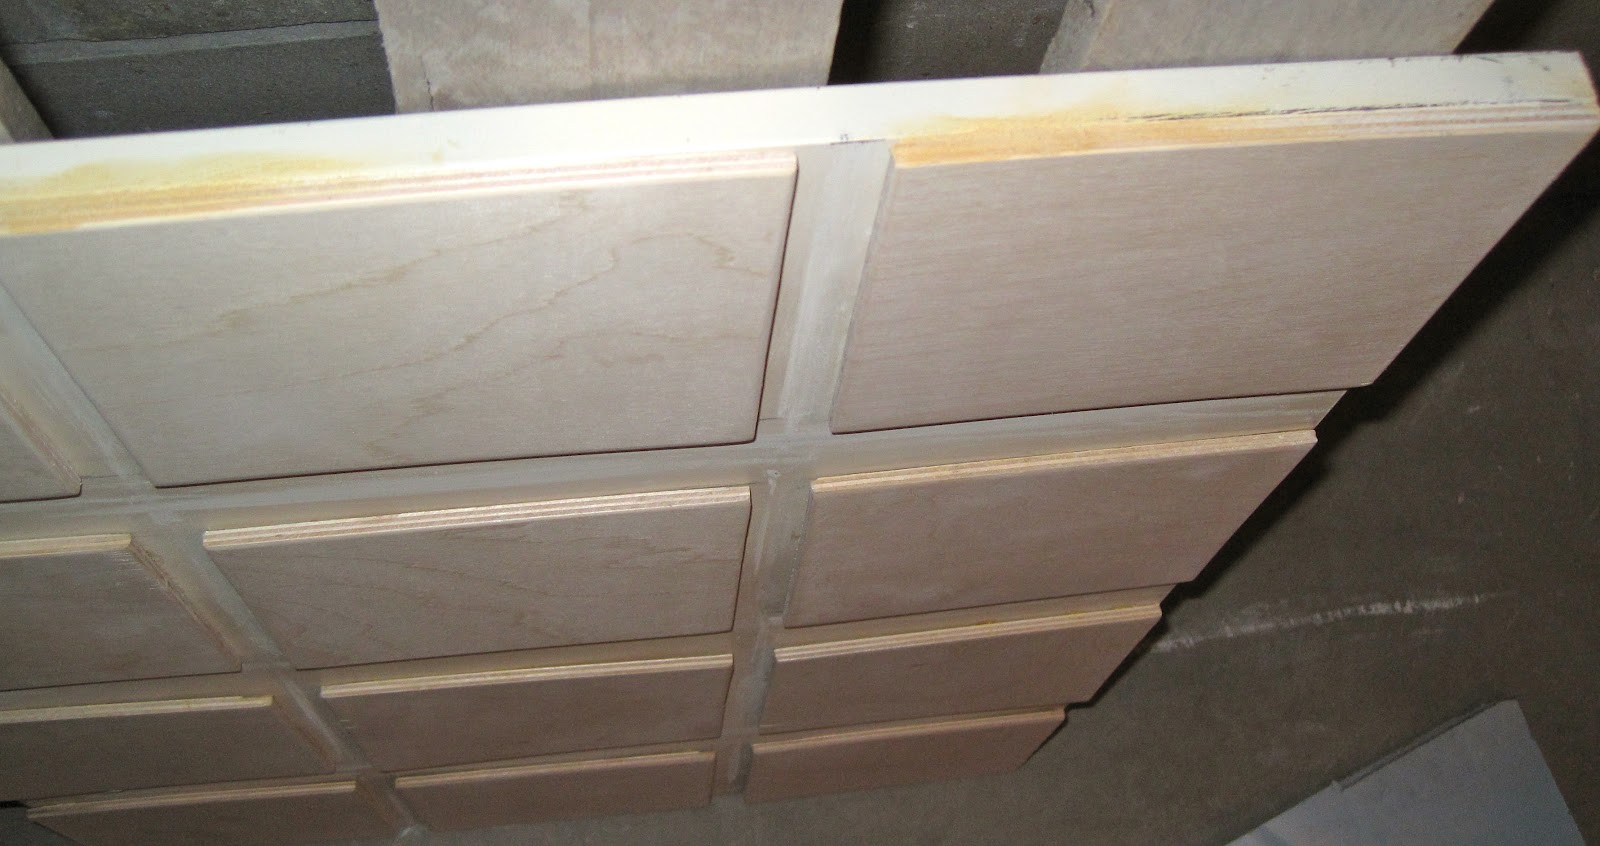
Then, that wood pallet I didn't know what to do with yet came to mind & I got out the saw & began taking it apart.


& apart...


Then I measured the wood & tried to think of a way 
to make it into a reclaimed wood top for the cabinet. 

I decided if I stained it a dark color , it might look really cool 
with the oil-rubbed bronze finish on the knobs & feet.


4/6/12

I cut the boards & this was my first lay-out.


I started sanding,


did some rearranging,


put the doors in front of it to get an idea of how it would all come together,


& sanded some more!


Finally, I decided this top will make it look more finished. 
(The wood for the top is cut in these pictures & laid out, 
but not in the final positions & not nailed or glued down.)

Oh yeah! I almost forgot... You'll notice that the feet are attached in these pictures. 
In the beginning of this post, I showed the pictures of the "Heavy Duty Top Plates" I attached. I picked those up at Home Depot along with the feet, which conveniently already had the screw-tops attached that fit right into the top plates.

Then it was Easter weekend, so that meant traveling & break time.

4/11/12

I got the top glued down in place, using the same mix of construction adhesive 
wood glue I used to attach the faux drawer-fronts; 

except I ran out of the first bottle of wood glue after gluing all that craft wood to the cabinet doors & bought a bottle of Gorilla Glue brand wood glue to do the top.


I also ended up having to add four small chunks of wood, 
one strategically placed in each row, in order to create the overhang on the sides.

Some more of the tools used on this job:


I didn't use any of that wood filler from the kit. I just used the little silver tool; 
but I'm sure the rest  of the kit will come in handy some time.

Next, I used STAINABLE wood-filler to fill in all of the cracks.


Now it was time for more sanding with 60-grit first...


My husband suggested checking to make sure it was level, too. Good idea, honey!


80-grit...


100-grit...


120-grit...

200-grit...


4/12/12

Before it's final sanding, it needed to be extra secure; 
so I go out the finishing nails & put two nails in each board 
(except the little chunks of wood, which only got one nail), one at each end.


You can hardly see those little nail heads!

Finishing nails are done. Now the final sanding with 220(?)-grit.


It's ready for stain!

4/13/12

First coat of stain down, now the waiting begins.


The first coat looks pretty good, right?


4/14/12


Second coat of stain down... more waiting...


4/15/12

Ok, so by this point, I knew this stain was going to be trouble.

Here's the things about Pittsburgh in April:
the weather is unpredictable & stain hates humidity.


Stain also hates little gnats that were seriously 
spawning or something because they were 
OUT OF CONTROL 
& the little jerks kept flying in my finish & dying there!


4/17/12


After the three coats of stain, there was too much build-up & I had no choice 
but to sand it down (to basically the first coat) & try again.


It looked good, but you never know until it dries...


AAAAAAAAAAnd it looked like hell. 
So try, try again...


I decided to try with this thing, a "Lambswool Stain Applicator." 
According to the package, everything would turn out great!
...NOT!!!!


I'd just like to say that this is the WORST product EVER!


DO NOT BUY THIS!
$$$$$$$
IT'S A TOTAL WASTE OF MONEY!
$$$$$$$$$$$$


IT COVERED EVERYTHING WITH LITTLE HAIRS!


I know you can't really see in the pictures, but just trust me. It was a MESS!

(Because of this project, I'm making a post of favorite products & one of worst products.
Guess in which post this applicator will be?!)

A LITTLE NOTE
 - & MAYBE A LITTLE ADVICE - 
CONCERNING SANDING:

Having to sand down & start over, oh I don't know... 
- maybe FIVE times -
may not sound like a big deal to those people who have never stained furniture before; 
but it takes a heck of a long time for stain to dry & 
you can't touch anything else on the project or risk screwing up the stain.

It's not like staining a deck or porch, it's tedious & has to be perfect because it's a piece of furniture that will be in your house; & it's going in my entryway, so every guest who enters my home will see it. 

I came across some excellent advice when I began sewing a few years ago, 
& it went something like this:

"When you are creating something, 
there is a BIG difference between 
handmade homemade."

(Obviously, you want to your creations to look handmade.)

4/18/12

Getting the stain just right probably took me about a week, maybe a little less. Just when I was about to give up, paint & distress it instead, I figured out a WONDERFUL solution!


I took what was left of the PolyShades stain in the little can (which wasn't much...) & added some spoonfuls of Gel Stain (which seemed MUCH easier to apply) straight into the little can. I shook the bejeezus out of it (PUT THE LID BACK ON FIRST, FOR THE LOVE OF GOD!) & made a mixture of my own stain that was still a beautiful, dark color - 
but much, MUCH easier to apply.

I sanded down to the wood (in most places) - one... last... TIME...

& applied the first coat of my mixture.


Even though it was still wet, it already looked a thousand times better than all the other coats I had done. I was hopeful that maybe I wouldn't even have to do a second coat!


4/19/12

The next day I noticed one teensy-tiny problem I had overlooked...

See the handful of little rough spots? 
They're there because in those specific areas, I had removed all of the stain 
& sanded all the way down to the wood; BUT I did not condition the 
exposed wood so it didn't end up matching the rest of the finish. 


So I broke back out my extra fine sanding block & my conditioner. 
I sanded the rough areas, used a foam brush to add the conditioner, 
waited the 15-30 minutes, wiped the excess, let it dry & stained again.


Beautiful, right?!

Well, my son was up from his nap; 
so time to put the lid back on the stain & return to this another time.


OH NO! I DIDN'T COVER THE LID WITH A RAG OR PAPER TOWEL 
BEFORE I TAPPED THE LID BACK ON WITH MY MALLET! 

Needless to say
- as seems to more often that not be the case with me - 
I had taken one step forward & two steps back.

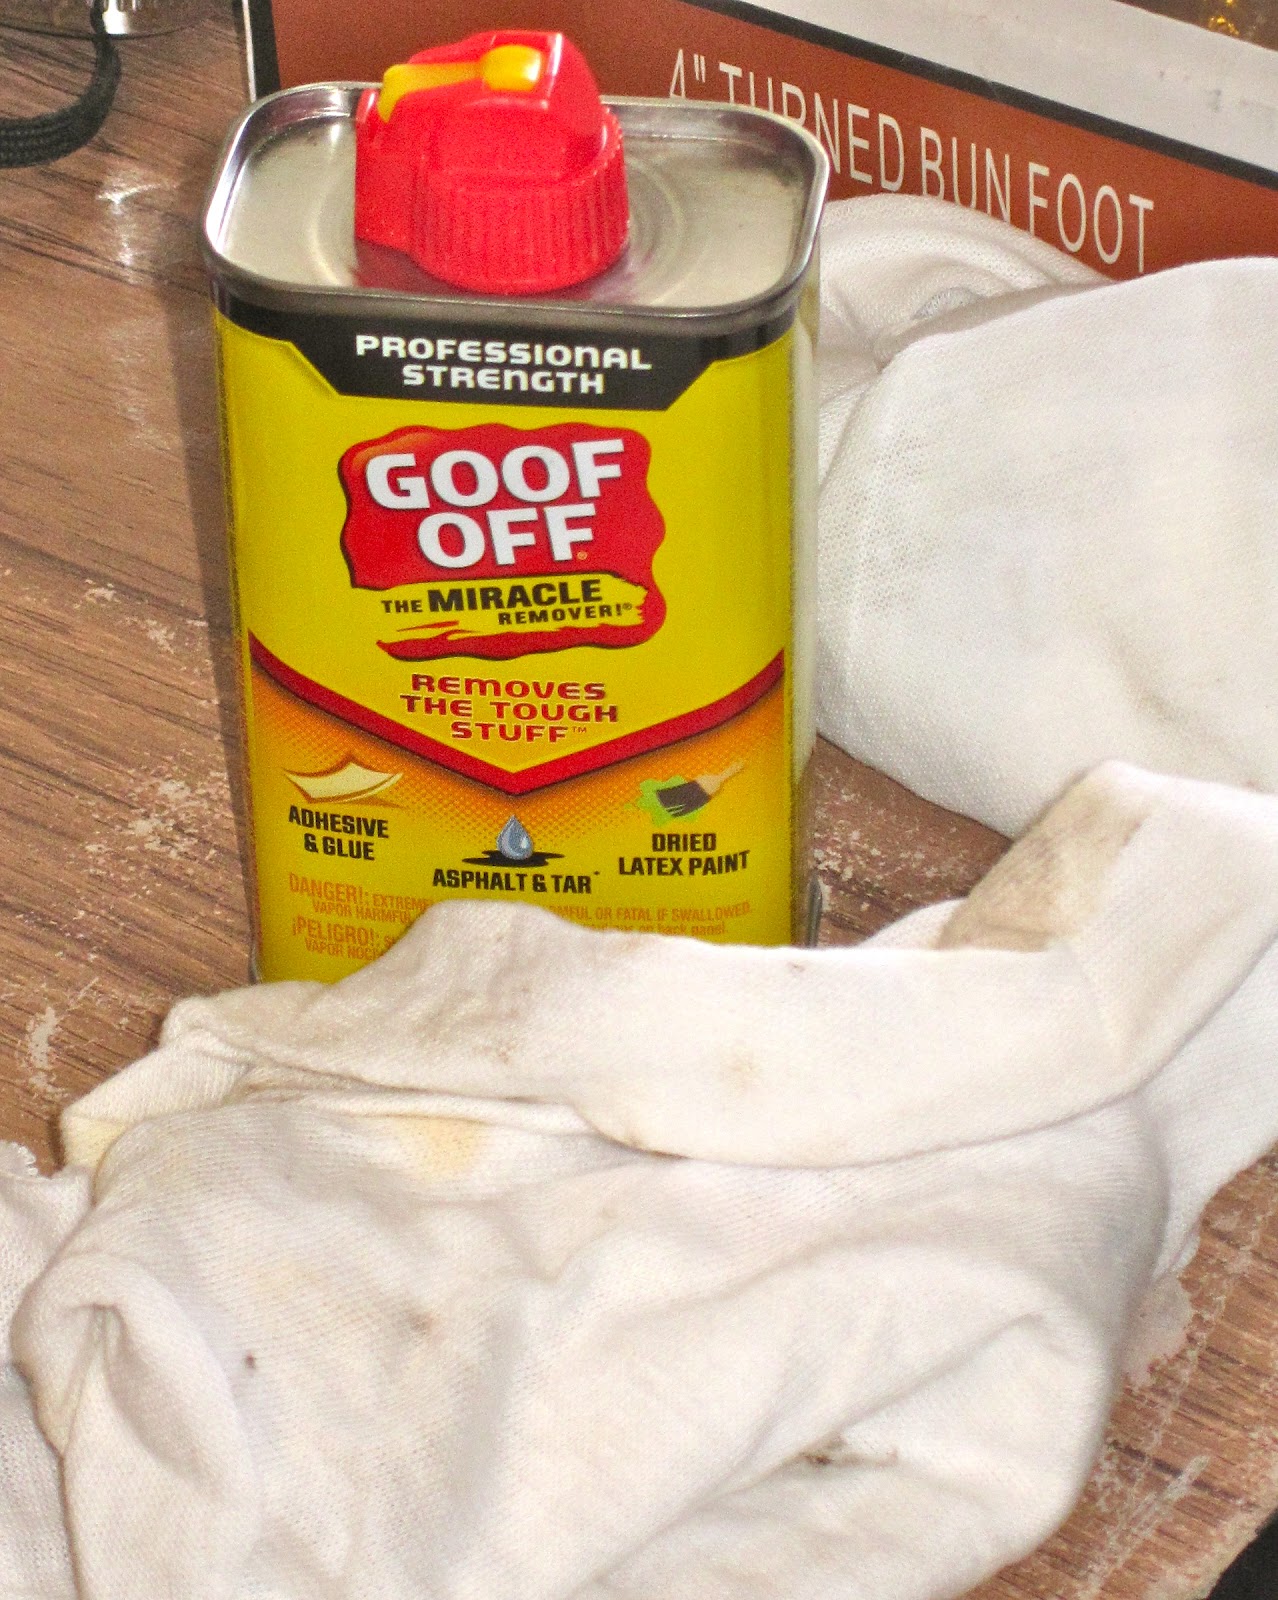
Well, let me introduce you to one of my favorite products!

GOOF OFF! 


YAY!


I figured I might as well touch-up the rest of the cabinet, as well.

See spot???


SEE SPOT RUN!!!

See those mistakes?


Voila! Much, much better!
It still needs touched up with paint, but I'll do that 
at the same time as the final glazing & polyurethane.


I moved the feet plates back because they were too far out. 
In the picture above, only four of the feet were moved in. 
The ones on the end of the right of the picture still needed moved.


Now in the pictures above & below they are all in their final resting places!


4/20/12

Now that the stain was done (HOORAY!), 


I took the knobs off to finish the top with a coat of hardening finishing wax 
(applied in tiny circles just like waxing a car - "wax on, wax off!"),


add the decorative wood trim moldings
(that's Gorilla brand wood glue mixed with construction adhesive again),


attach the finishing touches (like magnets to catch the cabinet doors & keep them shut),


& touch up all the ivory-colored paint & apply the glaze to the rest of the cabinet. 
(I did not glaze the stained wood top.)


I wiped & wiped the glaze (with professional painter's wiping cloths, duh), but I still thought it might be too dark. I'd have to let it dry & see it then to be sure.


Also, had you noticed that the right door sagged a little lower than the left? 
I knew that was going to need hiked up!


Finally, I thought that the large pieces of decorative trim were probably a little too much; 
but again I gave them a couple days to see if they would grow on me...

4/22/12

...Nope! They didn't;


so off they came.


The glaze was too dark, too.


I had to sand off the glue from removing the wood trim & repaint the sides; 
so while I had out my finishing sander & "Tiny Touch-It-Up Kit,"
I removed the handles (again) & got to work.


In the pictures below, the left side is sanded & the right is not. 
See how much brighter & clean it already looks?
I wanted to keep the glazed look, I just didn't want it that dark.


Now, both sides are sanded. The right side stripped down further than the left, 
but no big deal because it's all getting painted anyway.


Both sides painted...


4/23/12


- The Final Five Things -

1. Polyurethane the whole sucker,
2. Re-attach the knobs,
3. Polyurethane again,
4. Attach these self-leveling, heavy-duty felt pads to the bottom of the feet 
to protect my hardwood floors,


5. Carry it inside! (With my husband's help, of course...)

*******************

FINISHED PICTURES AS OF 
APRIL 24, 2012. 
I'M NOT DONE DECORATING THIS NOOK. 


*******************


The cabinet gave us lots of extra hidden storage for office, printer, & paper supplies
as well as reference books, media, & current reading.


I'm so glad I took my time with the reclaimed-wood top. 
It turned out so beautiful!


I'm so behind on all my posting because I just had to finish this project! 
I'll be sure to get caught up in the couple of weeks. 
There has been lots of stuff 'Rescued From The Curb!' & plenty of 'Goodwill Hunting!' 
You can look forward to about 10 new posts (at least!).

MORE PLANS ALREADY UNDERWAY
FOR THE ENTRY:

MIRRORS:
There will be a beautiful window pane mirror I painted & distressed (I will show in another post & link up here) to compliment the leaf mirror. I've seen a lot of layering of mirrors lately & I love the effect.


The leaf mirror in the picture has an antique glaze I whipped up by blending 
Martha Stewart paints with her special finishes.

LIGHTING:

 There are also two small lamps I'm working on because I THINK that this cabinet screams for a lamp on either side, but I'll have to see after I get them finished whether they will look better here or on the buffet I'm building for the dining room. 
That second lamp might be dangerous if it stays in this exact position in the entryway 
& be at risk of getting knocked over.

SHELVING:
I'm working on reclaimed-wood shelves, also from a wood pallet; 
but not as finished or stained. 
I'm going for a more rustic look with the because I want to blend my two favorite themes:

1. Traditional (yet comfortable & functional) 
2. Reclaimed/Vintage 


This will establish our style that carries throughout the entire house 
right from the very beginning.

REARRANGING:
...Enough said.

FINAL THOUGHTS:
For now, I just HAD to get the pictures up because I'm so proud of how great it turned out. 
I'll be sure to post updates as the entryway progresses.

CATCH THE BRAG POST HERE AT ANA-WHITE.COM!

I'm linked up to MISS MUSTARD SEED's 'Furniture Feature Friday!' 
Scroll down & "Like" number 194, "Faux Apothecary Cabinet." 
Help a fellow mom-trepreneur! 
(Silly me, I can't believe I haven't been linking up all my projects before this... but going to do that now. 
:) Yay, this is fun!)

"It was more than discovering something that I loved to do - 
It was discovering someone I had always been." 
 ~ Natalie ;-*
Follow Me on Pinterest